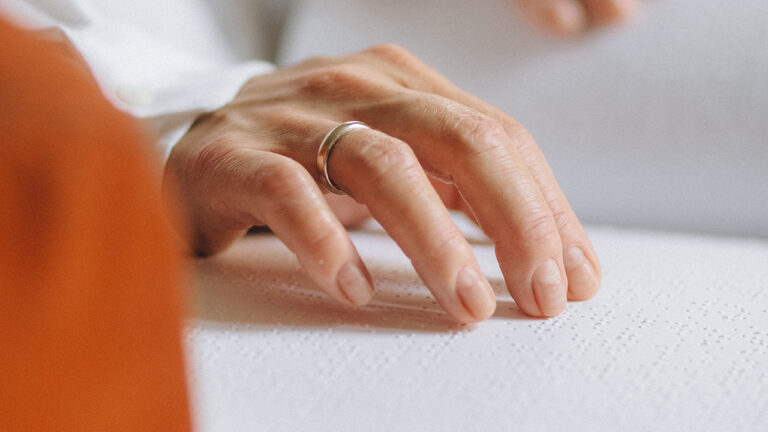
Summer heat blazes across the country, which means it’s grilling season. For blind and visually impaired people, grilling can be an intimidating feat. Even if experienced in the kitchen, nonvisual grilling can seem scary. As soon as that heat billowing off a hot grill hits, it can make a skeptic out of anyone.
Many blind and low-vision people grill, but it’s not for everyone! If you’re interested in learning some nonvisual techniques for grilling, read on.
Recipes
It’s good to start with a recipe. A sauce, marinade, or rub can take it to the next level. Here’s a basic marinade for a Grilled Hawaiian Chicken dinner.
• 2-3 pounds boneless, skinless chicken thighs
• 1 cup pineapple juice
• 1 cup low-sodium soy sauce
• ⅔ cup brown sugar, light or dark
• 1 tablespoon freshly grated or finely minced ginger (or use ginger paste)
• 6 cloves garlic, finely minced (or 1 teaspoon garlic powder)
You can sub in any variety of veggies or tofu.
Combine all ingredients and whisk until sugar is mostly dissolved. Check this by placing clean fingers into the bowl. If you still feel a lot of sugar crystals, keep whisking. Once dissolved and well mixed, the marinade is ready.
Place the chicken in a gallon-sized storage bag and pour half of the mixture into it. Place the bag in the fridge for at least four hours.
Make sure to store the other half of the marinade in a container with a lid and refrigerate.
Tools
There are various helpful grilling tools and gadgets for people with visual impairments. It takes trial and error to determine what works best for any individual. Here are some recommended tools and gadgets for nonvisual grillers.
-
The grill
You can’t grill without the beast itself. Preferences range between gas and open flame, but most home grillers use gas. It gives you more control over the heat, and you don’t have to contend with open flames or smoke.
Brands vary, and depending on your budget, you can find an overwhelming variety of options. A basic gas grill is affordable and straightforward if you are new to grilling.
-
Basic grill kit
A basic set of grilling utensils, such as GrillJoy’s stainless steel grill kit, is essential for grilling. This set should include a spatula, tongs, fork, and cleaning brush.
-
Gloves
Not all grill masters wear grill gloves, but they can give you an added layer of protection. Having a pair of gloves makes the grilling process less intimidating for nonvisual grillers.
-
Grill dishes
You can use everyday dishes, but it’s nice to have dishes made and used specifically for grilling. The items listed below will enhance your grilling experience if you can purchase a few extra items.
-
Digital thermometers
So much technology is available and can enhance the grilling experience.
Digital thermometers
This tool ensures that all food that is being prepared is at the proper temperature for safe eating!
Benefits of using digital thermometers:
-
Ensures precise temps to avoid over and under-cooking.
-
Apps and alerts allow frequent checking without standing by a hot grill.
-
Gauges both grill temp and meat temps.
-
Allows nonvisual grillers to know when food is just right.
For those grilling with visual impairments, the popular Weber iGrill probes app is accessible with iOS and Android screen readers.
Depending on what you are grilling, the safe minimum cooking temperature ranges from 145°F to 165°F. Place the probe into the thickest part of the meat to ensure accurate temps.
You have your tools. The food is prepped. Now, it’s time to grill.
Feel the heat
No matter which grill you have, charcoal or gas, you must gauge the temperature by touch. As mentioned above, gas grills give you control over the heat required for the recipe.
Fire up the grill. Keep the lid closed so it gets as hot as possible. Using a grilling brush, scrape away any residual mess from previous grilling.
Once done cleaning, adjust the heat accordingly. You will initially need to determine where the knobs are and which direction to turn for specific heat levels.
Often, online accessible tutorials and PDFs can give you this information. Of course, you can always ask for sighted assistance for this part.
Gauge the heat level by hovering your hand a few inches above the grilling surface. The heat will be more intense directly above each gas burner.
Once the grill is heated, it’s time to place the meat on it. Avoid placing the meat directly over the flames, as this could cause flare-ups from drippings. Use utensils as guides to place the meat on the grill.
This keeps food separated and your hands safe. Food closer to flames will cook faster and hotter. You will need to flip the meat. You should also periodically move the meat around different spots on the grill. This ensures a more thorough and even grill on all sides.
Use the extra marinade with the recipe provided above and frequently brush it over the meat as you grill. Cook the chicken for about seven to eight minutes per side. Once done, a thermometer should read 165°F at the thickest part of the chicken.
Is it done yet?
For chicken and pork products, it’s recommended to use an accessible meat thermometer to know a precise temp. One blind and visually impaired technique for checking your burgers or steaks is to press down with a finger or utensil to determine how firm the beef is. The former it is, the better cooked it is. Also, a knife should cut cleanly through a well-cooked piece of meat.
Bon appetit.
Dinner is now ready to serve. Enjoy with your favorite side dishes. The crispy, smokey, juicy meat will make your mouth water.
You’re now on your way to becoming a nonvisual grill master.
For those searching for assistance in adaptive or assistive technology, support groups, activities, and more, contact Outlook Enrichment today!


